Add your own domain & Verify domain
Introduction
Adding and verifying your own domain in Avada allows you to send emails from a professional custom domain. This guide will walk you through the steps to set up your domain, verify it, and add new senders for email communications.
Step 1: Add a new domain
Firstly, we need to add a new domain. Please kindly navigate to your Avada Dashboard and find your way to the 'Settings' and then 'Emails'.

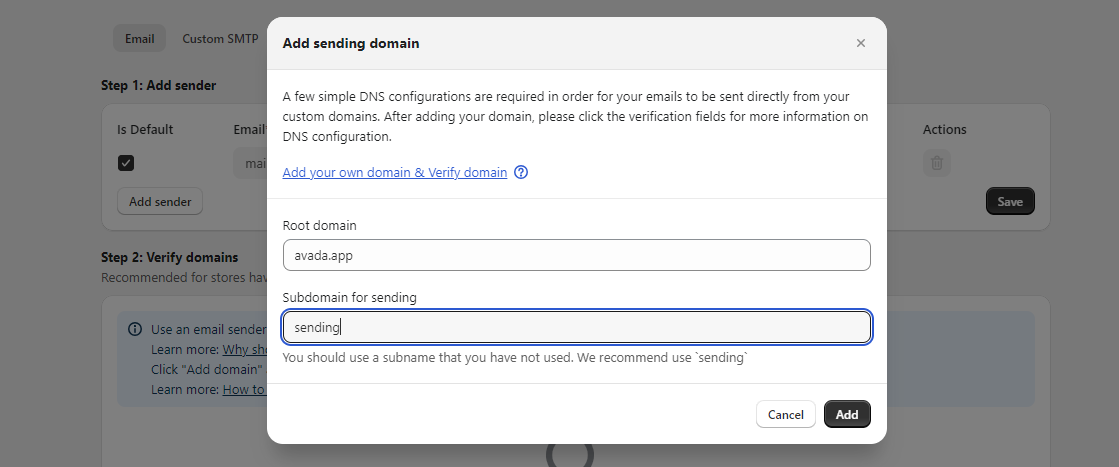
Next, please click on 'Add domain' at Sender domain.

At step 1, please enter your business domain. Remember, you don't need to include http/www (or https). Once you've entered your domain, click 'Next' to proceed.
Step 2: Select Provider
Choose your domain provider from the list and click Next.

Step 3: Go to Your Domain Provider's Website
Log in to your domain provider's website to manage DNS settings.

Step 4: Copy DNS Records
- You’ll see a DNS record displayed.
- Copy this information into your domain provider's dashboard.
- For Cloudflare users, follow the same steps to add these records.
- For other providers, check these guides:
- Add & verify GoDaddy domain
- Add & verify 1&1 domain
- Add & verify Namecheap domain

Step 5: Verify the Domain
- After entering the DNS records, click Verify.

- If successful, you’ll see a confirmation message.

- If you see a message saying "Your domain cannot be verified," don't worry. It could be due to a few reasons:

- Your domain provider might need more time to update the DNS record. This can take up to 24 hours, but sometimes it only takes a few minutes.
- You might have set up something incorrectly in step 2.2. Please try re-entering the information. Remember to remove the "...." sign from your pasted record.
Step 6: Add New Senders
- Once your domain is verified, you can add a sender.
- Enter the sender's email address and email name, then click Add to save the new sender.

After completing the domain setup, you can Add sender right at the Sender domain card. Please click the "Add sender" button:

Step 7: Send a Test Email
- Enter the email address to test your new domain and click Next.

Conclusion
By following these steps, you can easily add, verify your domain, and start sending emails from your custom domain. If you encounter any issues or need help, feel free to reach out. Happy emailing!
Updated on: 12/09/2024
Thank you!